Protecting Your Foundation: The Ultimate Guide to Exterior Waterproofing
The Ultimate Guide to Exterior Waterproofing
When it comes to home maintenance, out of sight shouldn't mean out of mind. Your home’s foundation works hard every day to keep the structure stable, but it has a constant enemy: water.
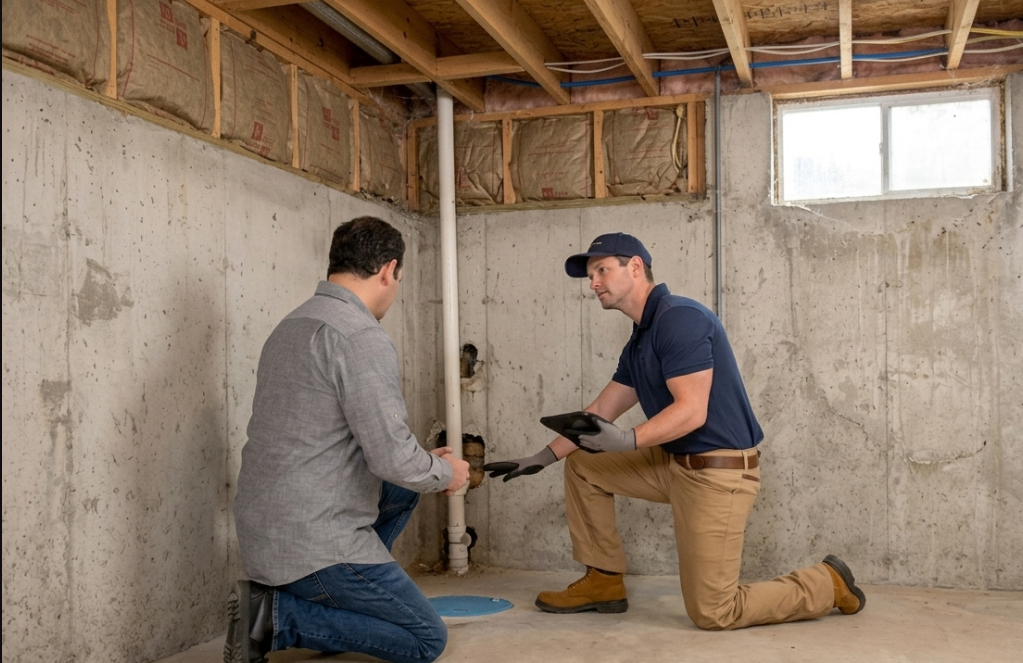
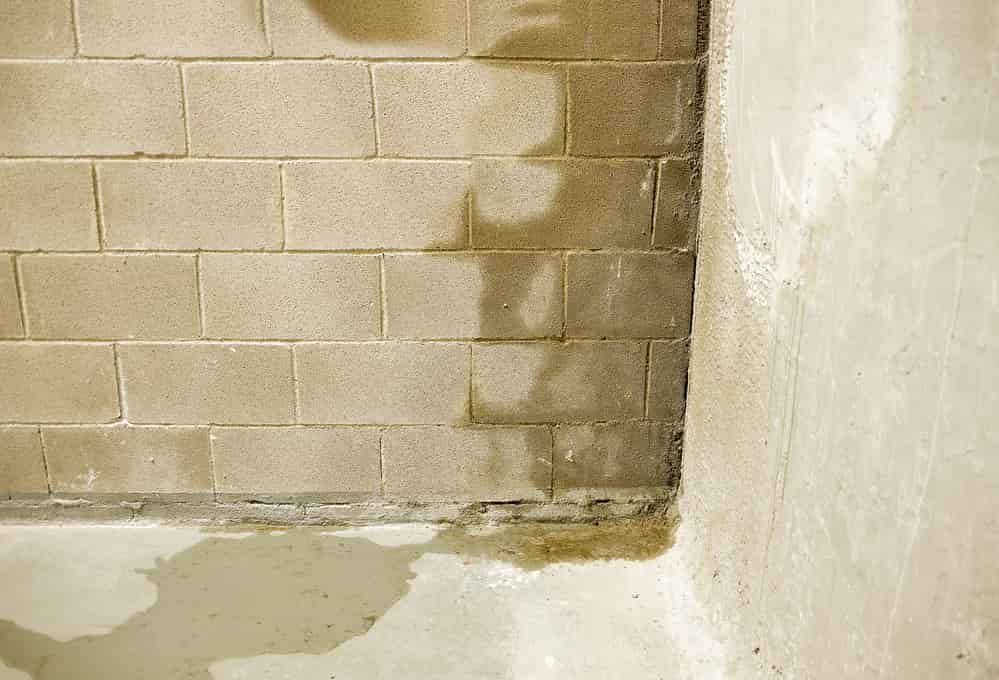
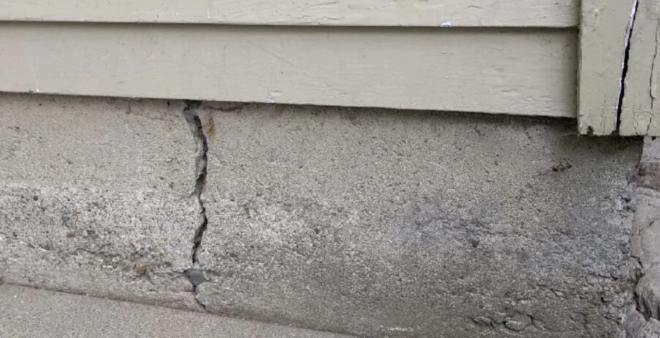
Over time, hydrostatic pressure from wet soil can force moisture through concrete, leading to damp basements, cracked walls, and costly structural damage. While interior solutions like sump pumps help manage water once it gets inside, exterior waterproofing stops water from ever touching your foundation in the first place.
Here is a breakdown of how exterior waterproofing works, why it’s the gold standard of basement protection, and what the process looks like.
Why Choose Exterior Waterproofing?
While interior waterproofing manages water after it enters, exterior waterproofing treats the problem at its source.
- True Prevention: It creates a literal barrier between the outside elements and your foundation wall.
- Structural Protection: By keeping the foundation dry, you prevent the freeze-thaw cycles that expand small cracks into massive structural hazards.
- Air Quality & Health: Eliminating moisture at the exterior level drops interior humidity, drastically reducing the risk of mold and mildew growth in your basement.
Step-by-Step: The Exterior Waterproofing Process
A proper, professional-grade exterior waterproofing job is a meticulous process. It requires heavy lifting, precision, and the right materials to ensure the fix lasts for decades. Here is what happens during a typical project:
1. Excavation
The first step is digging a trench right down to the footings of the house to expose the foundation wall. Depending on the depth, this can be done by hand or with a mini-excavator.
2. Wall Cleaning & Inspection
Once exposed, the foundation wall is thoroughly cleaned of old dirt, debris, and failing coats of old sealant. The bare wall is then inspected for structural cracks, gaps, or shifting concrete blocks.
3. Repairing the Cracks
Any discovered cracks are filled and sealed using high-strength hydraulic cement or specialized structural resins. This ensures the wall is completely uniform and stable before the waterproofing layers are applied.
4. Applying the Waterproofing Membrane
This is where the magic happens. The wall is coated in a heavy-duty elastomeric waterproofing membrane (often a rubberized or polymer-modified asphalt layer). This creates a flexible, seamless, continuous barrier against moisture.
5. Installing the Drainage Mat (Dimple Board)
A heavy-duty plastic dimple board or drainage membrane is fastened over the rubberized coating. The dimples create an air gap that allows any water trickling down the soil to drop straight to the drainage system below, relieved of any pressure against the wall.
6. Replacing the Weeping Tile
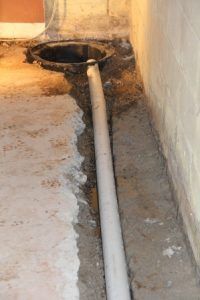
At the bottom of the trench, a new perforated drainage pipe (weeping tile) is laid down and connected to a proper drainage outlet. It is then covered with a thick layer of clear gravel to filter out soil and ensure water flows smoothly into the pipe.
7. Backfilling & Grading
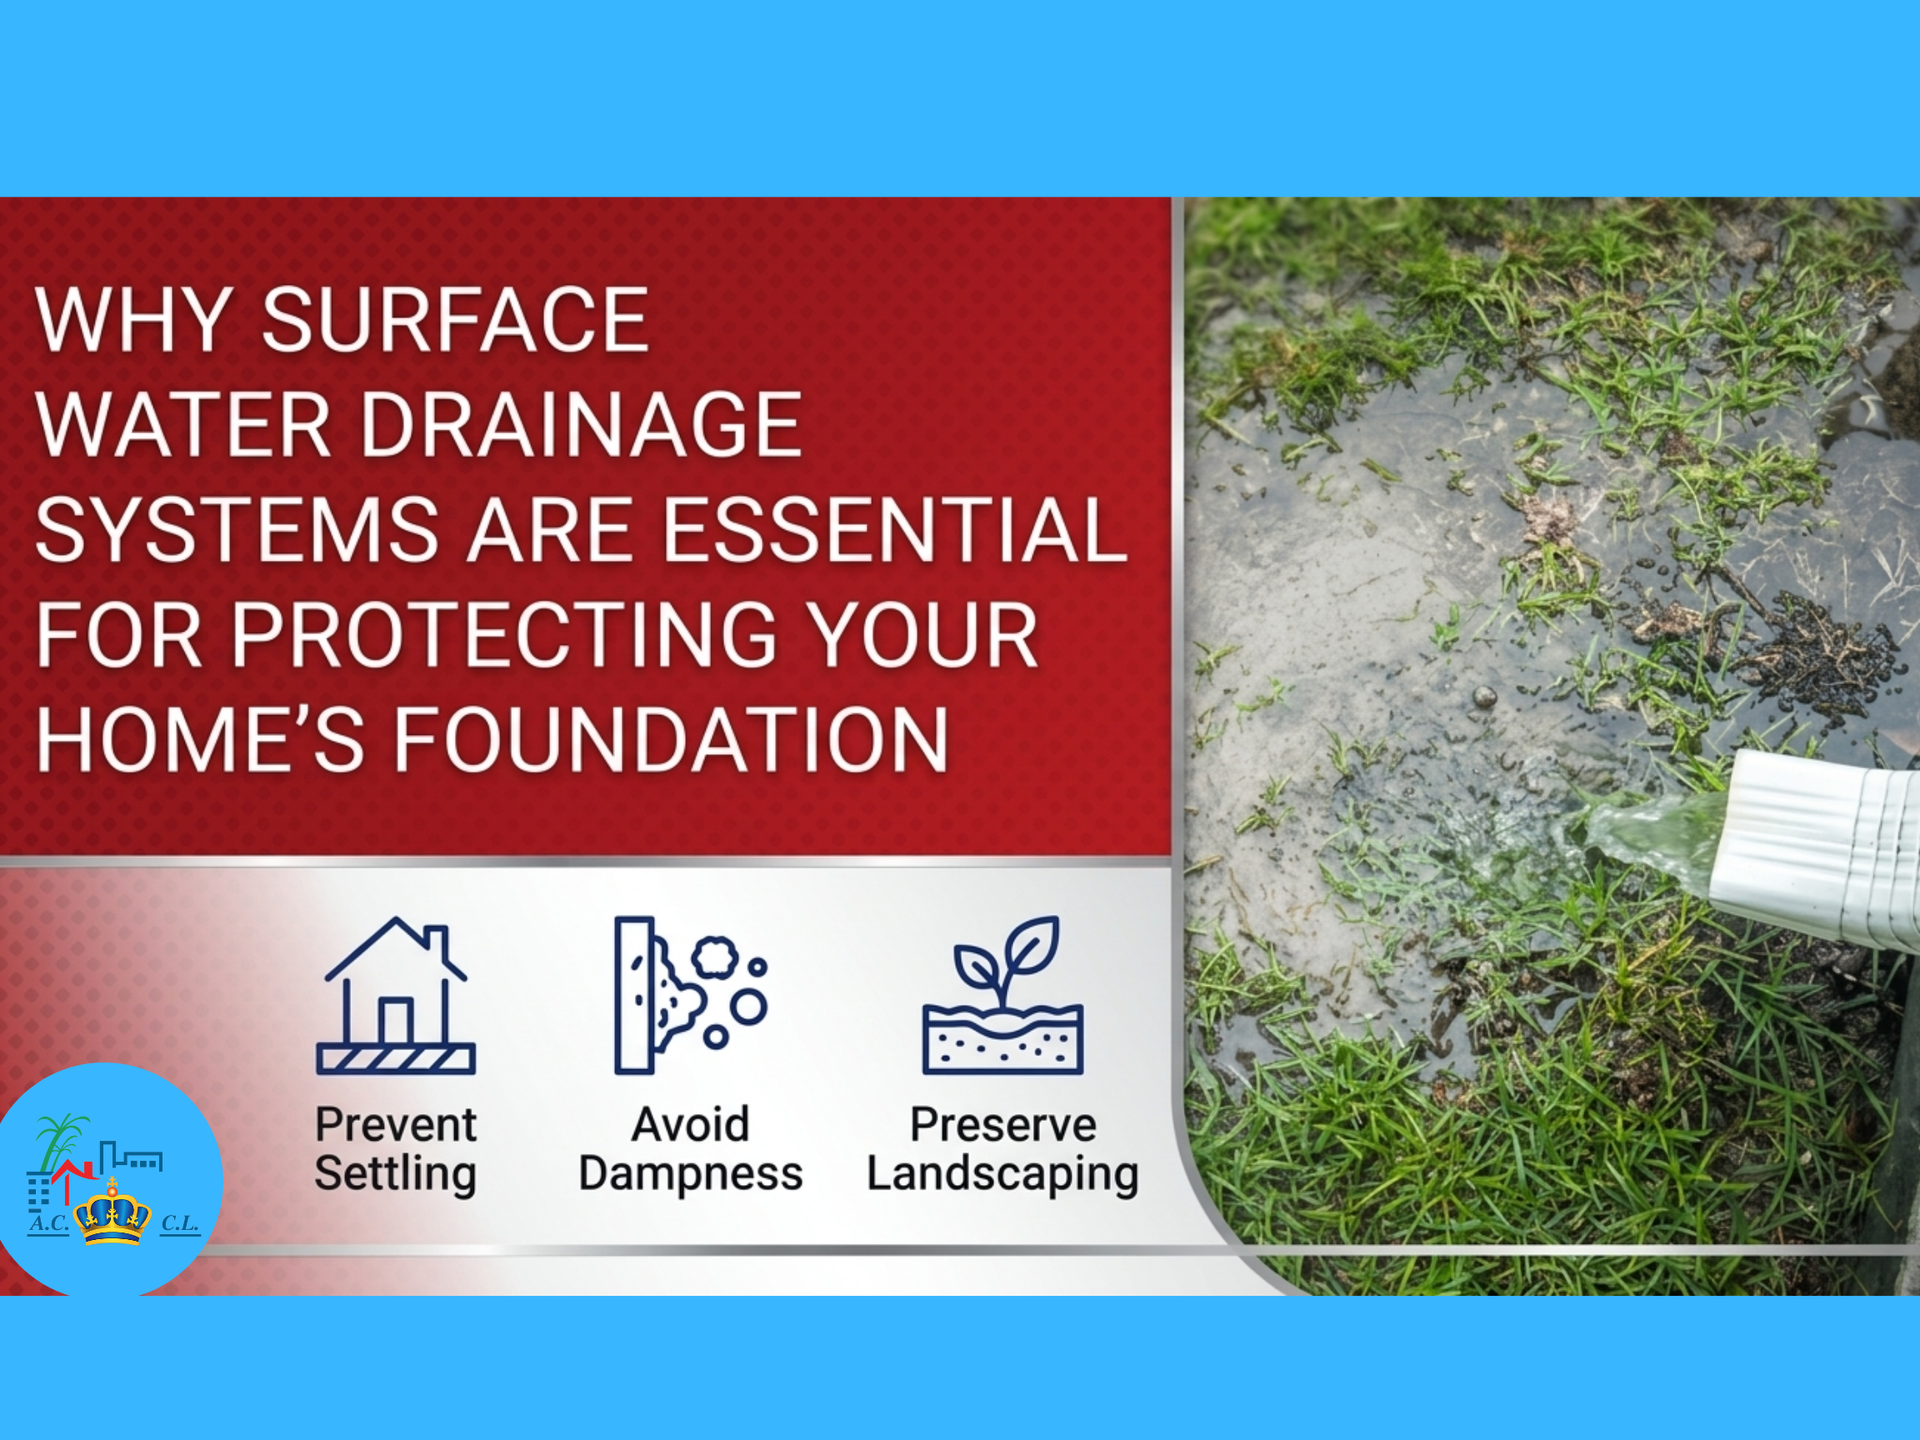
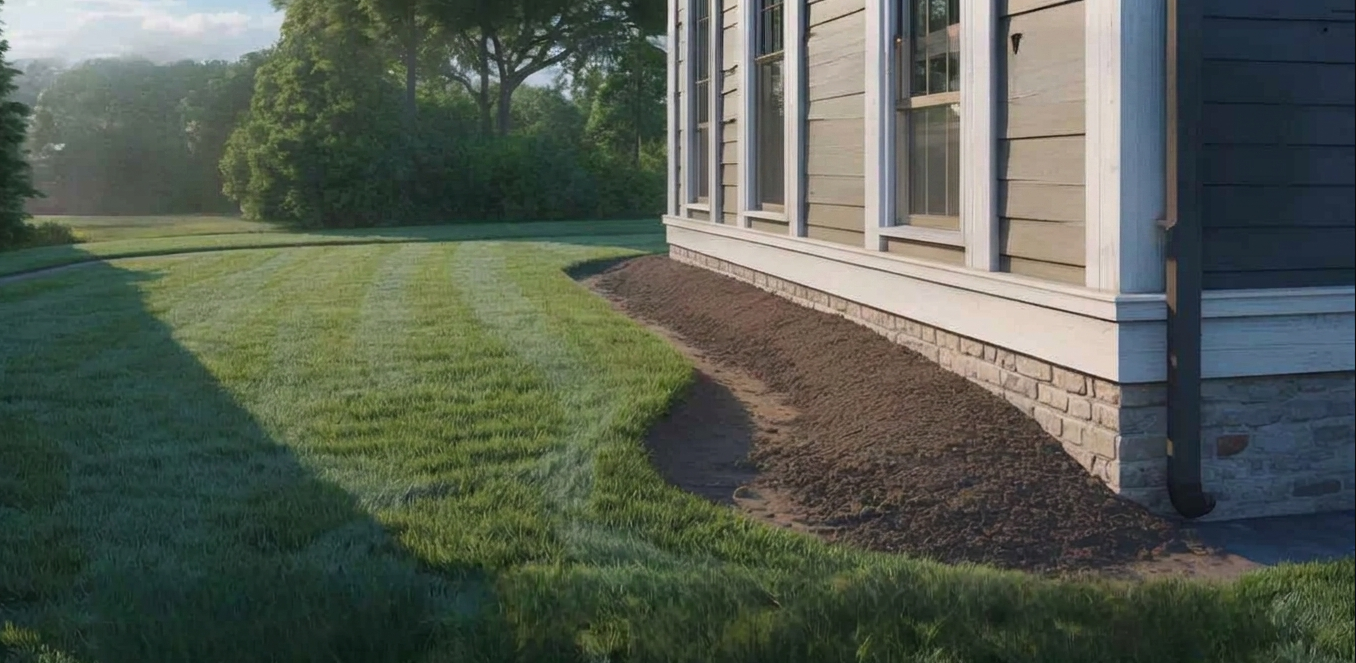
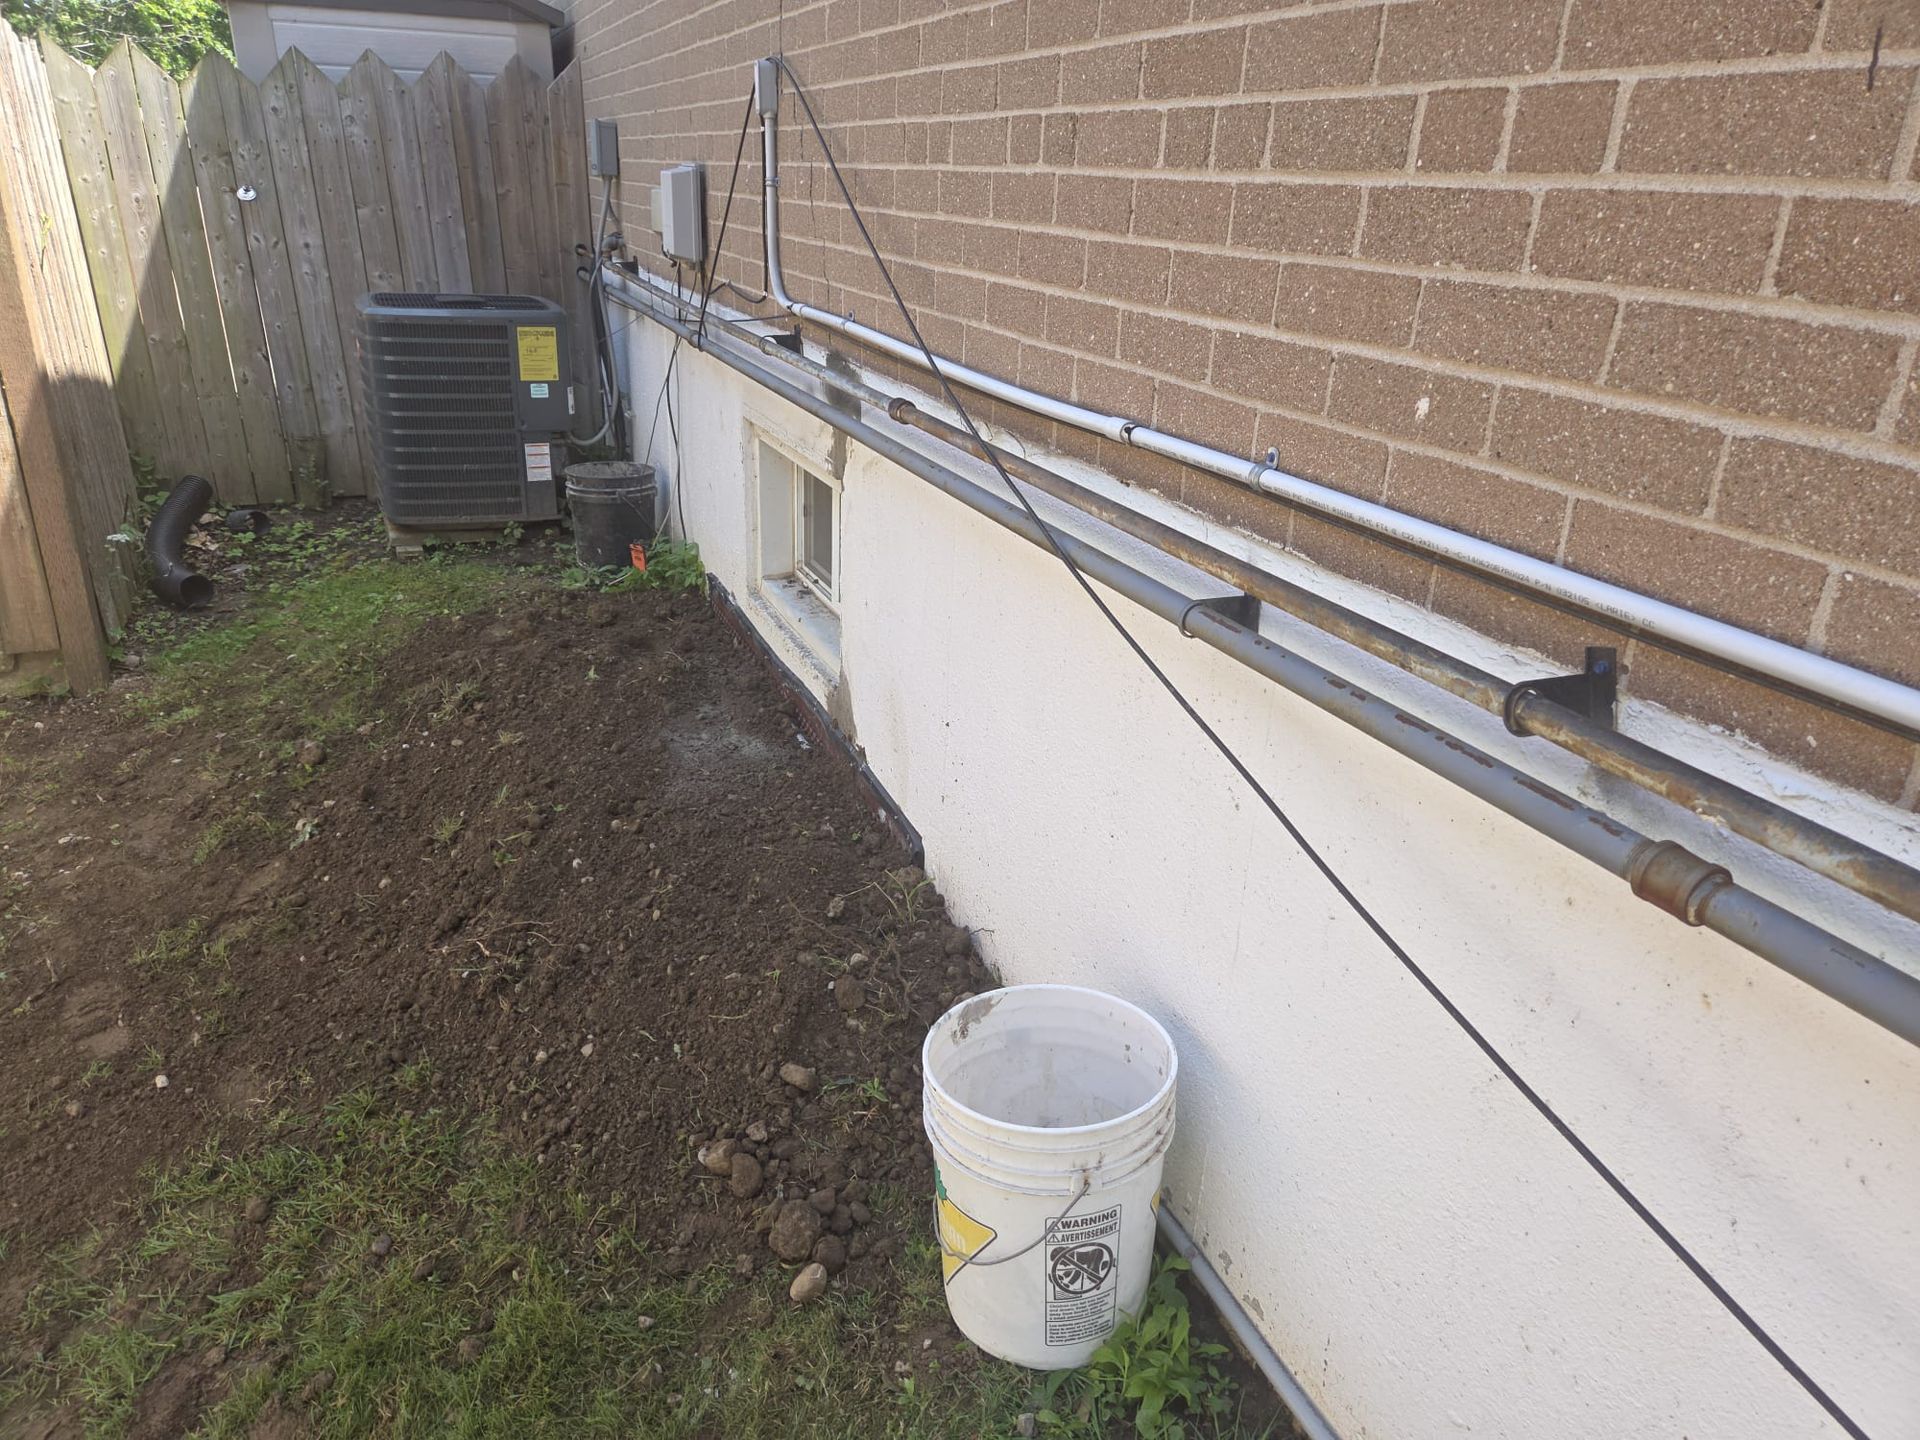
Finally, the trench is filled back up with the excavated soil. The ground is carefully graded and sloped away from the house so that rainwater naturally runs away from the foundation rather than pooling next to it.
Is It Worth the Investment?
The Verdict: Absolutely. While exterior waterproofing requires excavation and has a higher upfront cost than interior patches, it is a permanent investment in your home’s structural integrity.
By keeping your foundation bone-dry, you protect your home value, safeguard finished basement spaces, and ensure peace of mind every time a heavy storm rolls through.
Planning a foundation repair or noticing dampness in your basement? It’s always best to consult with a professional waterproofing specialist to assess your property's specific drainage needs before the next heavy rainfall.
Contact ACCL Waterproofing
Corporate Head Office
124 Wilson Rd S
Oshawa, ON L1H 6C1
Email: info@acclwaterproofing.ca
West Tel: 1 (416) 759-2995
East Tel:
1 (905) 448-5909
Toll Free: 1 (866) 701-8484
Website: www.acclwaterproofing.ca